Today we want to provide 3 easy tips to optimize the quality of your live audio. Live streaming in recent years has increasingly won the hearts of audiences chiefly because it’s perceived to be more engaging and intimate than pre-recorded content. Therefore, it becomes crucial that every aspect of your live stream – like the audio, is efficiently optimized.
Great audio connects the audience to the content, allows you to have the desired impact, and therefore increases audience retention. Though quality audio is subjective, a consensus can be reached on what constitutes poor audio quality. Sounds like hum, buzz, room reactions, microphone bumping are a no-no.
There are several sound production tips and tricks that you incorporate into your live streaming process to improve your audio quality. Some of these tips for producing high-quality audio will be discussed here, but first, it will do you good to familiarize yourself with these basic audio terms
Basic Audio Terminologies
Choosing the right equipment is very vital to the quality of sound you end up producing. Therefore, learning basic audio terms will come in handy in shopping for new tech for your streams. This list will help you get started:
dB’s and EQ
Decibels (dB’s) are units that quantify sound level. The more the dB’s the founder the louder sound produced. The degree of decibels is referenced in audio gear with colored meters ranging from green to red.
Equalization (EQ) is a tool that helps to increase or decrease frequency levels. Regulating EQ levels can help voices sound brighter and more clear.
Reverb and Plosives
Reverberation (or reverb) is similar to echo, though it is the superimposition of many echoes within an enclosed space. Simply put, it is responsible for how your voice sounds different in different places.
Plosives are the explosive sounds that consonants produce when spoken into a mic. The most tricky one is the consonant letter P.
Clipping
Clipping occurs when an amplifier is pushed beyond its limit, goes into overdrive, and attempts to produce an output voltage beyond its capacity. It is usually indicated by a red light on your audio interface, speakers, or DAW (digital audio workstation).
Gain
Gain controls the loudness of sound before it goes through any processing. It’s the volume being sent into your amplifiers, plugins, and preamps. Because the sound is regulated before it is processed, its tone can be modified.
Ideas to Help You Optimize the Quality of Your Live Audio
 Get the Right Equipment for the Job
Trying to decide on the best microphone for you, out of so many options can be overwhelming. Your choice should depend on the kind of live stream you’re recording and the audience you’re hoping to reach.
Some microphones are built for specific purposes and using them for the wrong situations could work against you in the end. So before settling on a mic choice consider things like degree of movement and instruments to be recorded.
Other things to pay attention to are the cables to your hardware. Even with the right hardware improper connection could wreak havoc. Ensure your mic cables(input) fits perfectly into your chosen output source. Output sources could be speakers, audio mixers, or computers.
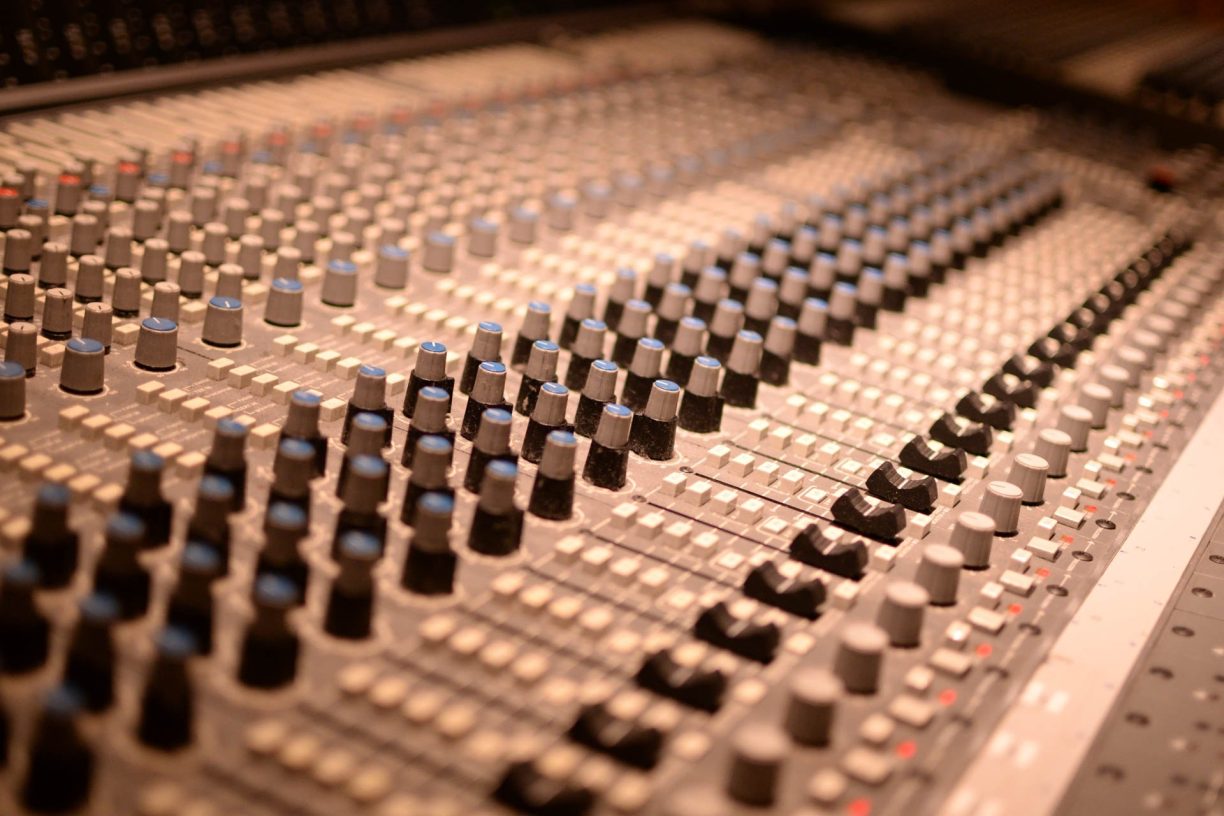
Also, an audio mixer might be necessary if you’re planning on streaming with multiple channels of audio input. With an audio mixer, you could manage and equalize multiple channels. All these may sound complicated but audio mixing for beginners is pretty straightforward.
Location Location Location
The location of your streaming is one aspect you need to put a lot of thought into. You’re going to need a space with favorable acoustics.
If you’re a beginner hoping to use your home, you’ll need a small room, and you also need to cover hard surfaces with pillows and blankets. But, if you have dedicated a stable space for your live streaming, you should install acoustic foams.
You should also be aware of some foreign sounds like fans, refrigerators, phone tunes, etc. Getting a windscreen for your mic would help you minimize background noises.
Run a Sound Check
Before your live stream begins is when you have the opportunity to know what your audience is hearing. That’s why it is very important to test all your audio equipment. Here are a few things to consider:
- If you are using multiple channels, equalize everything with an audio mixer
- Set your microphone close to the subject (you and maybe your guest or co-host)
- Make sure you have enough headroom – you do this by watching the meter as you test your mic
- Try listening from multiple devices as though you’re on the receiving end of your content.
Bonus Points

Photo by on Pexels
Take advantage of OBS
Open broadcast software (OBS) is very useful as it helps you turn your recording equipment into live streaming equipment. OBS records, broadcasts, and encodes all together in real-time. What’s even more amazing is that it is free for everyone.
Enunciation is Key
No matter how much money you spend on getting top-notch gadgets, your audio quality will continue to fall short if you’re projecting your voice wrongly. If your enunciation is the problem, you should consider participating in articulation exercises or taking advantage of voice projection for acting.
Finally, Value Your Listeners
Yes, you’ve got a great voice and yes you love the sound of your recorded voice. But, that’s not what producing high-quality audio is all about though. It is about engaging your audience and creating that sense of belonging, with the least possible interference. Some of the tips that have been shared here, will go a long way in optimizing your live audio. Hence, boost your audience retention.
Read more education articles at ClichéMag.com
Images provided by Flickr, Unsplash, Pexels, Pixabay & Creative Commons
The post 3 Easy Tips to Optimize the Quality Of Your Live Audio appeared first on Digital Online Fashion Magazine | Free Fashion Magazine | Fashion Magazine Online.
0 Commentaires